
How to send us the audio and artwork files for your order.
This portal is where you send us the production files for your order — audio masters, disc images, track lists, and print artwork.
Uploading files does not start production. Your order still needs a formal confirmation from us before it goes into production.
An administrator creates your panel account and emails you the sign-in details (your email address and a password).
Sign in and change the password to your own at the first opportunity.
Return to this site any time and sign in with your email and password.
Forgot your password? Use the Forgot password? link on the sign-in page.
After signing in you see the list of your project folders — one row per release and production format.
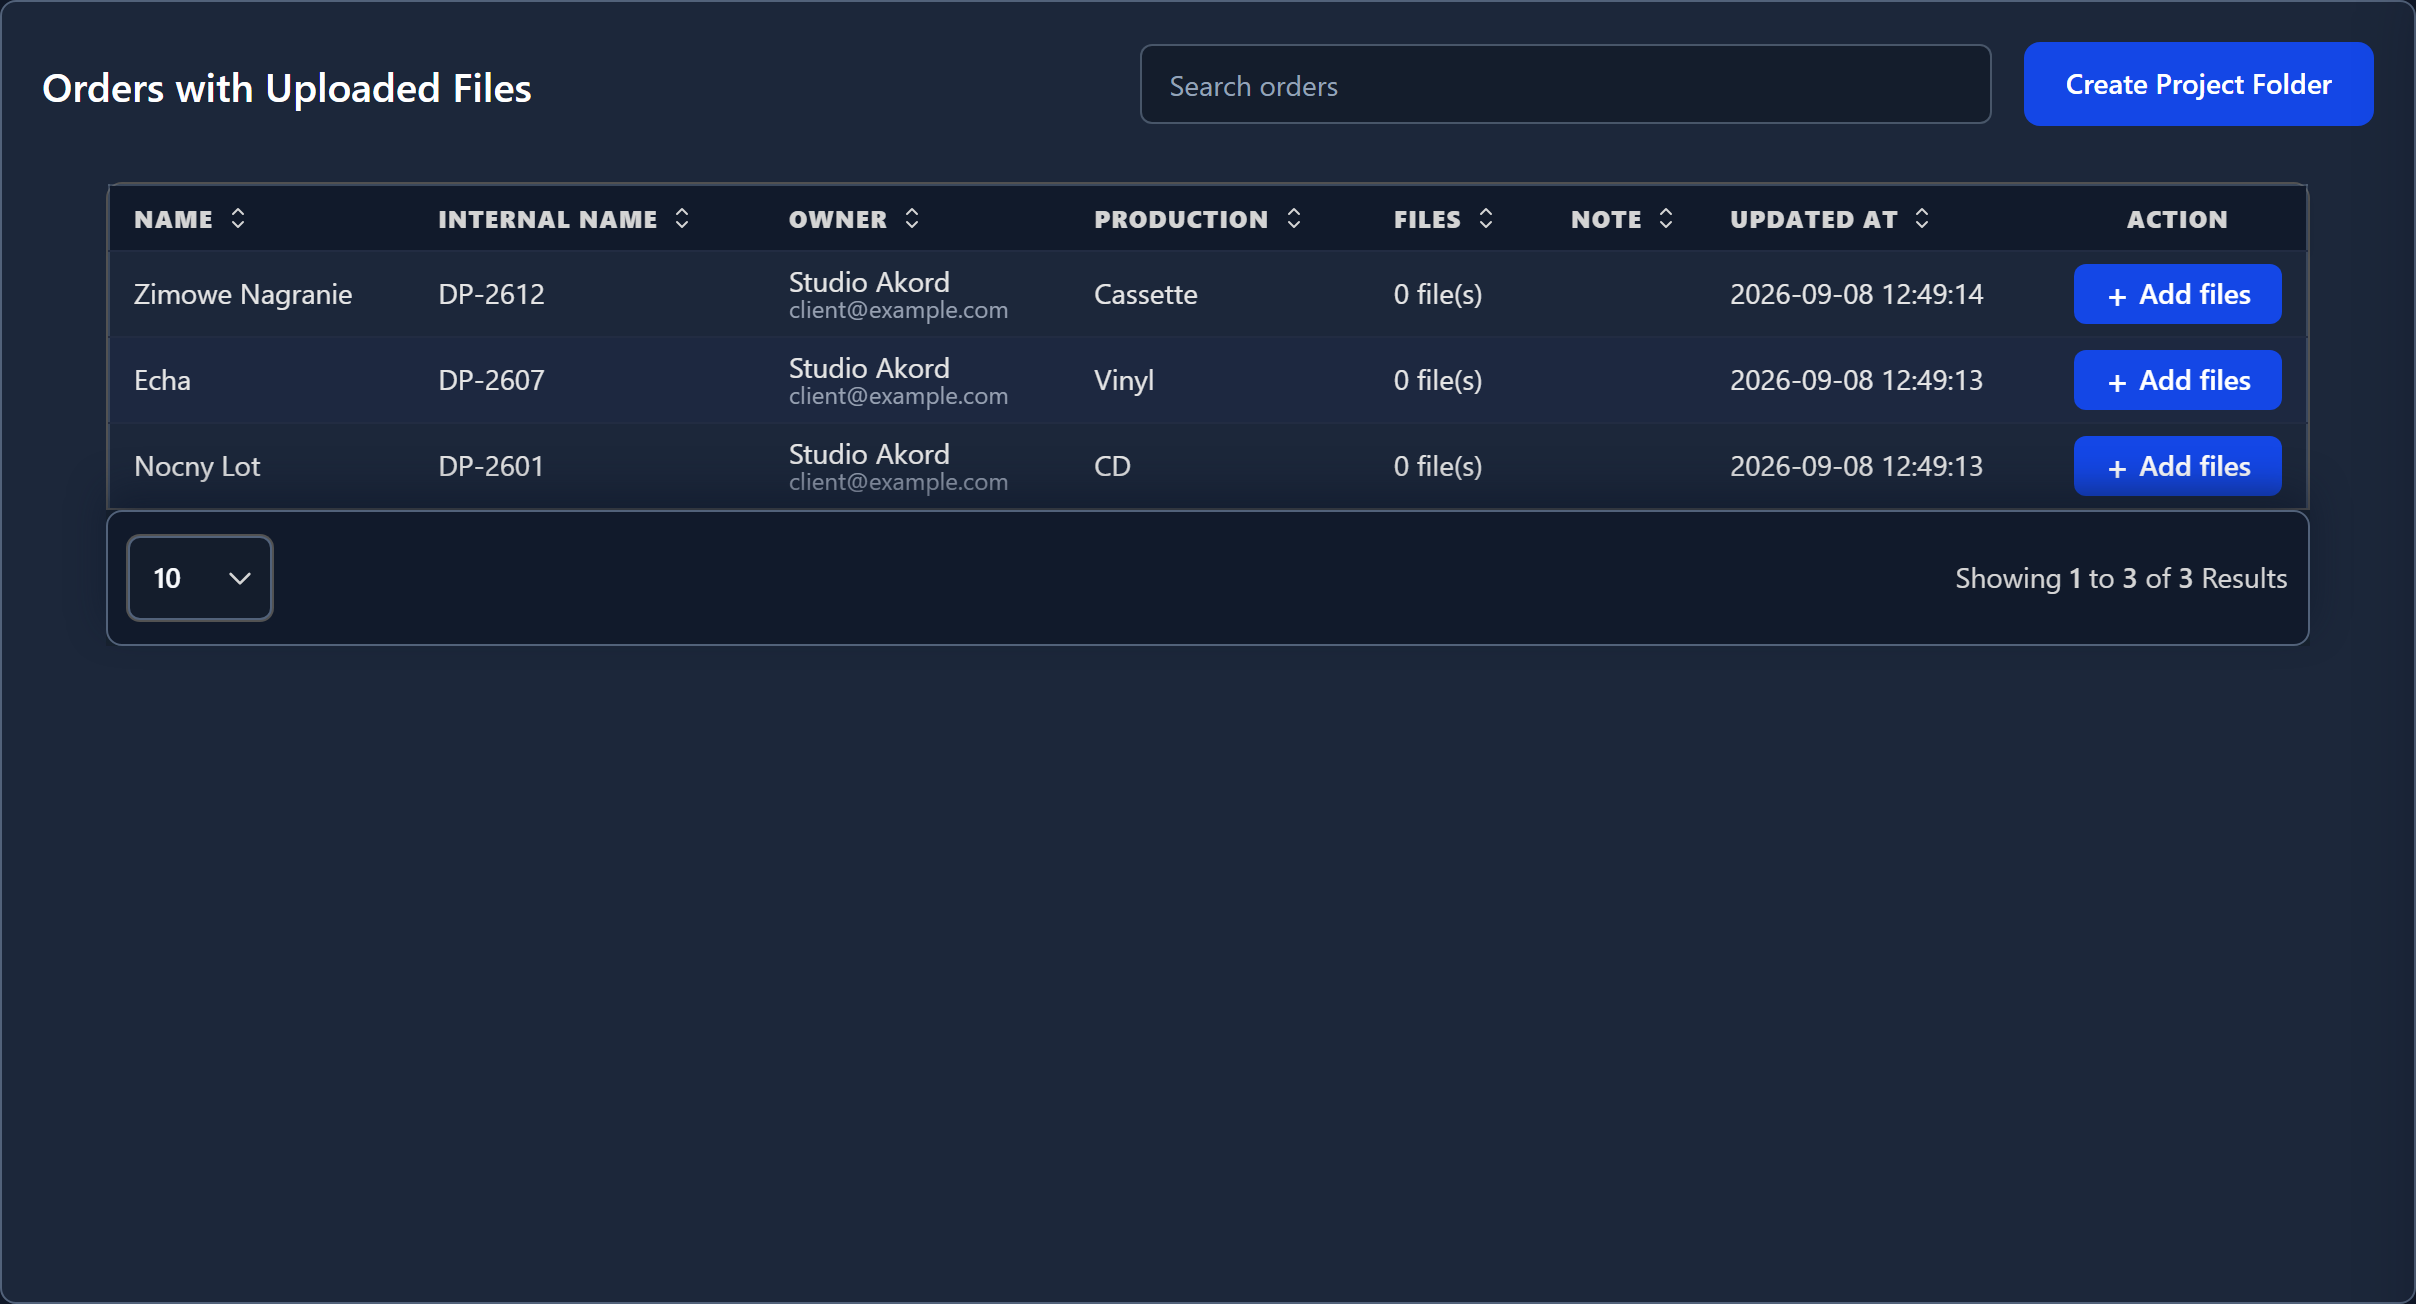
The columns:
Click Manage files (or the row) to open a folder and send files to it.
If you need a folder for a release we have not set up yet, use Create Project Folder. Create a separate folder for each production format — for example, one for CD and one for cassette of the same release — because the file requirements differ.
Inside a folder you see the Send Files panel with two drop zones:
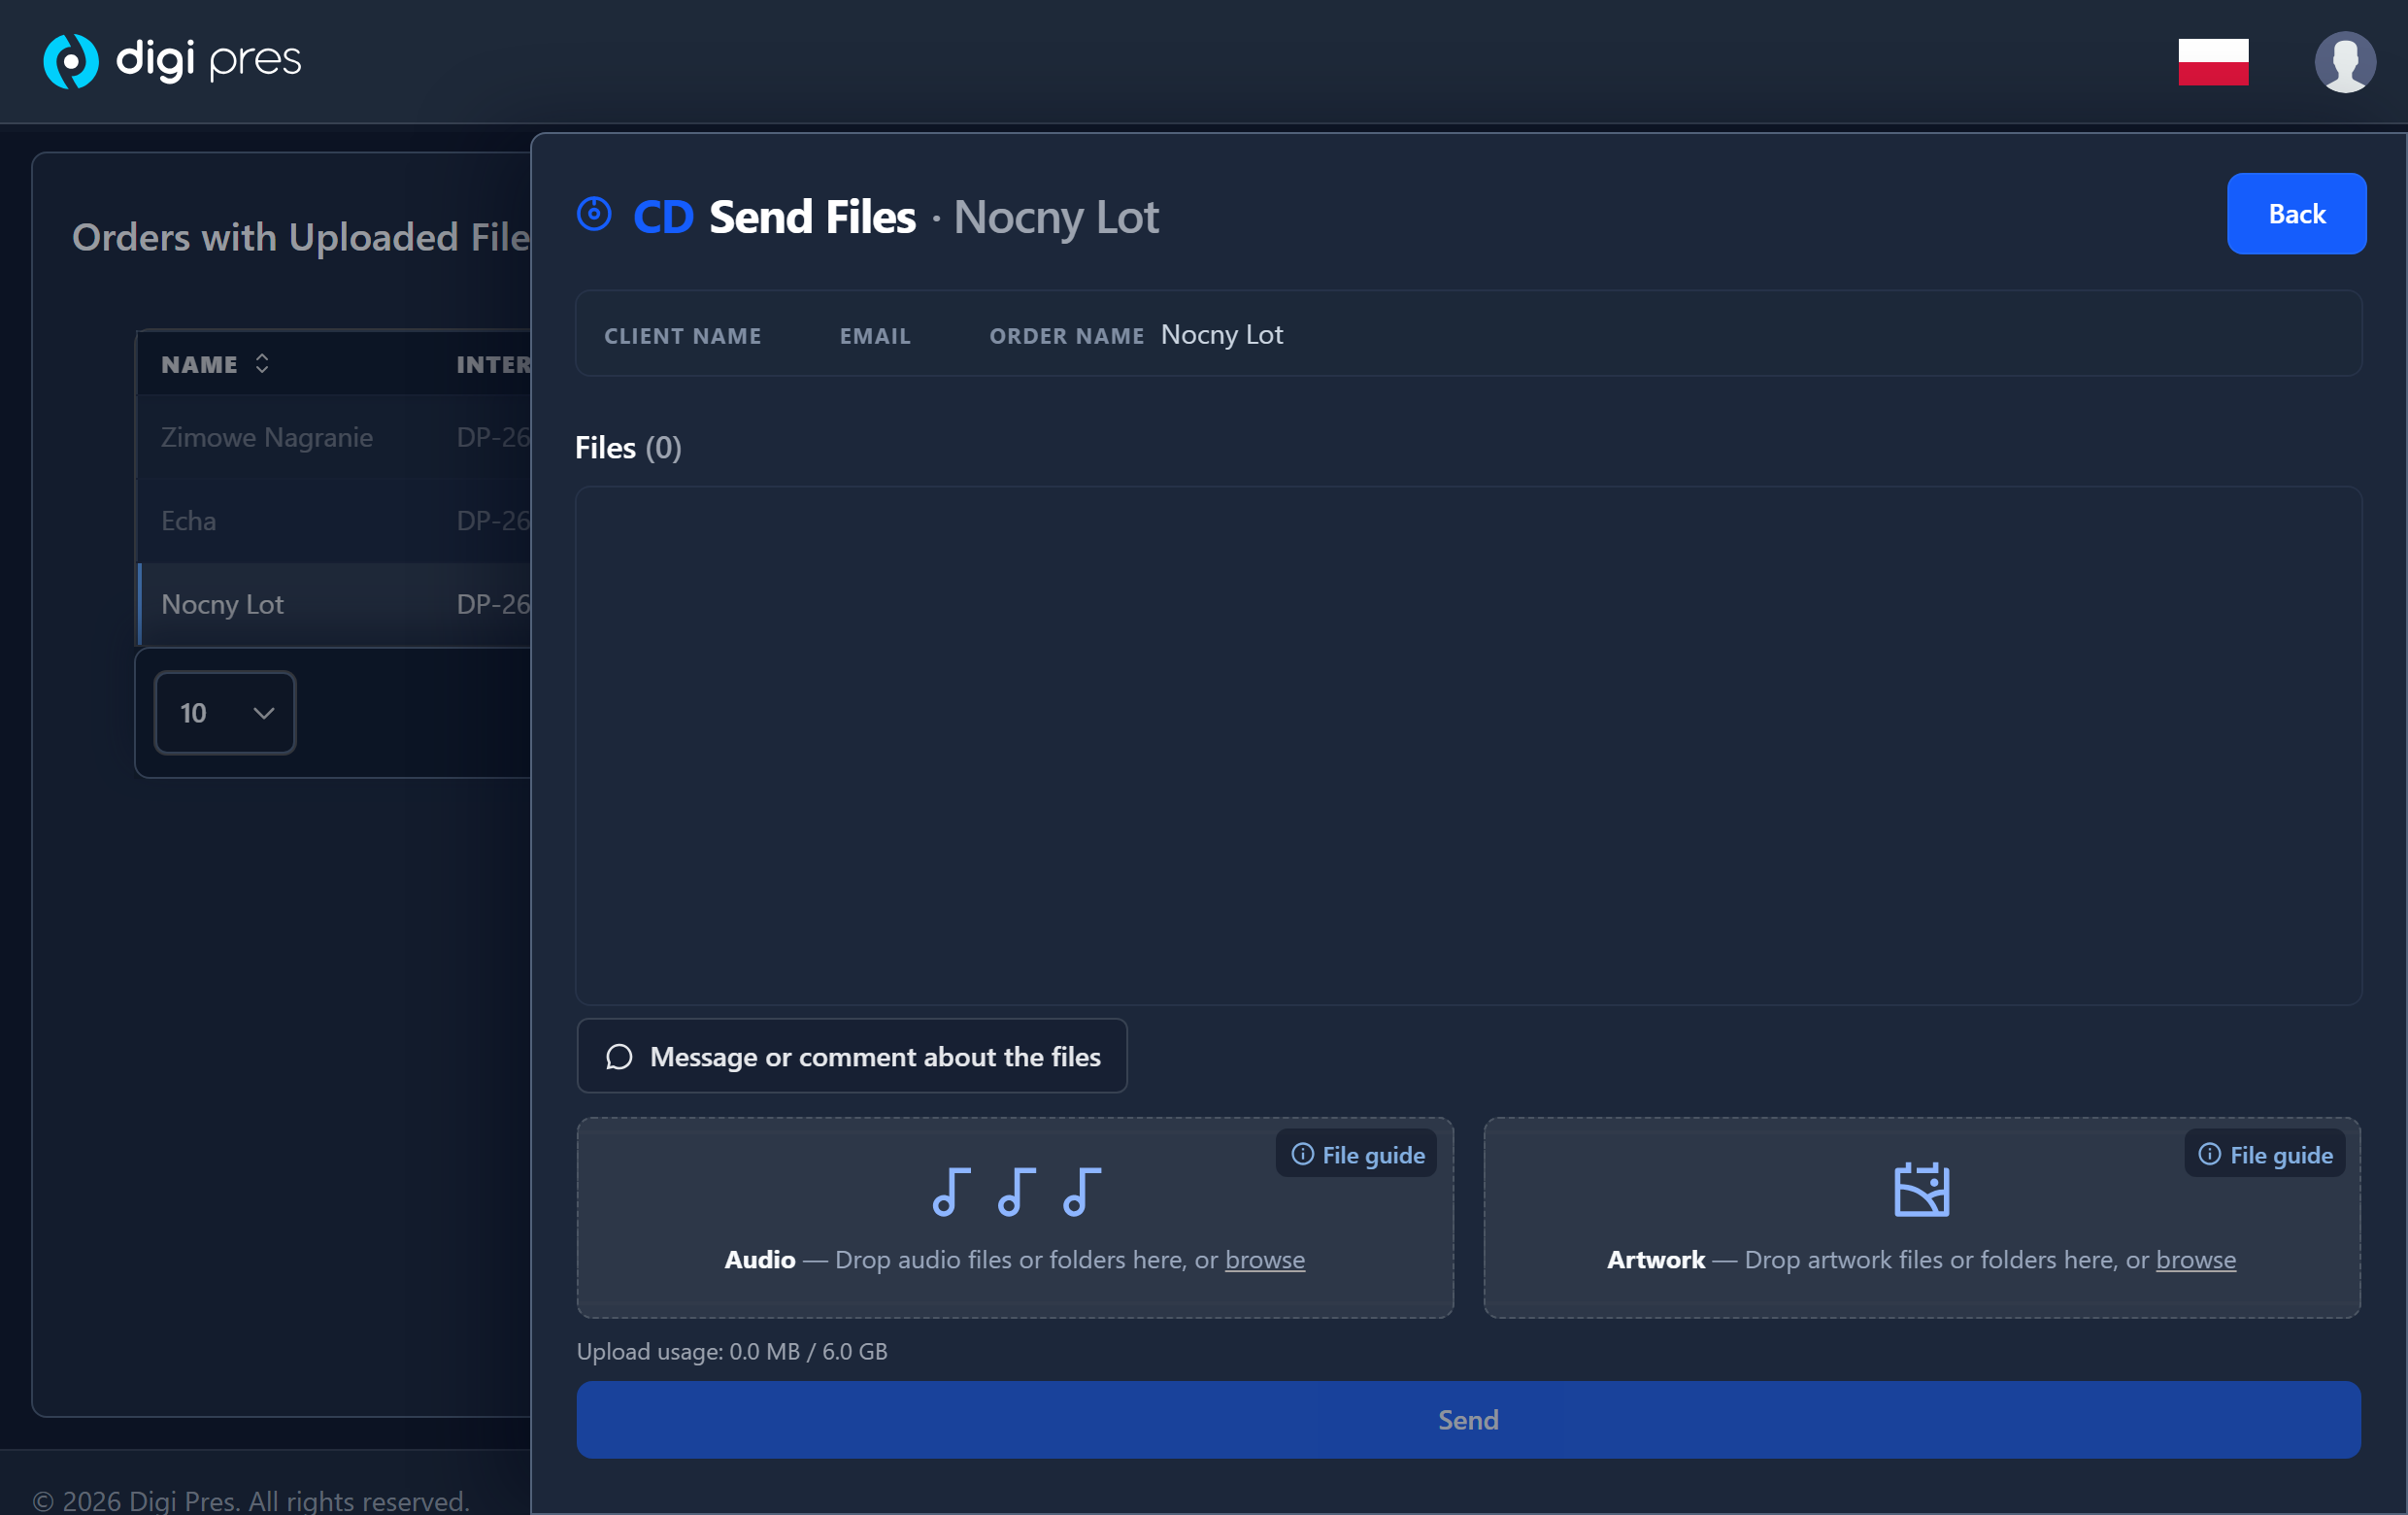
Drag files or whole folders into the correct zone, or click browse to pick them. Each file is checked automatically as it uploads.
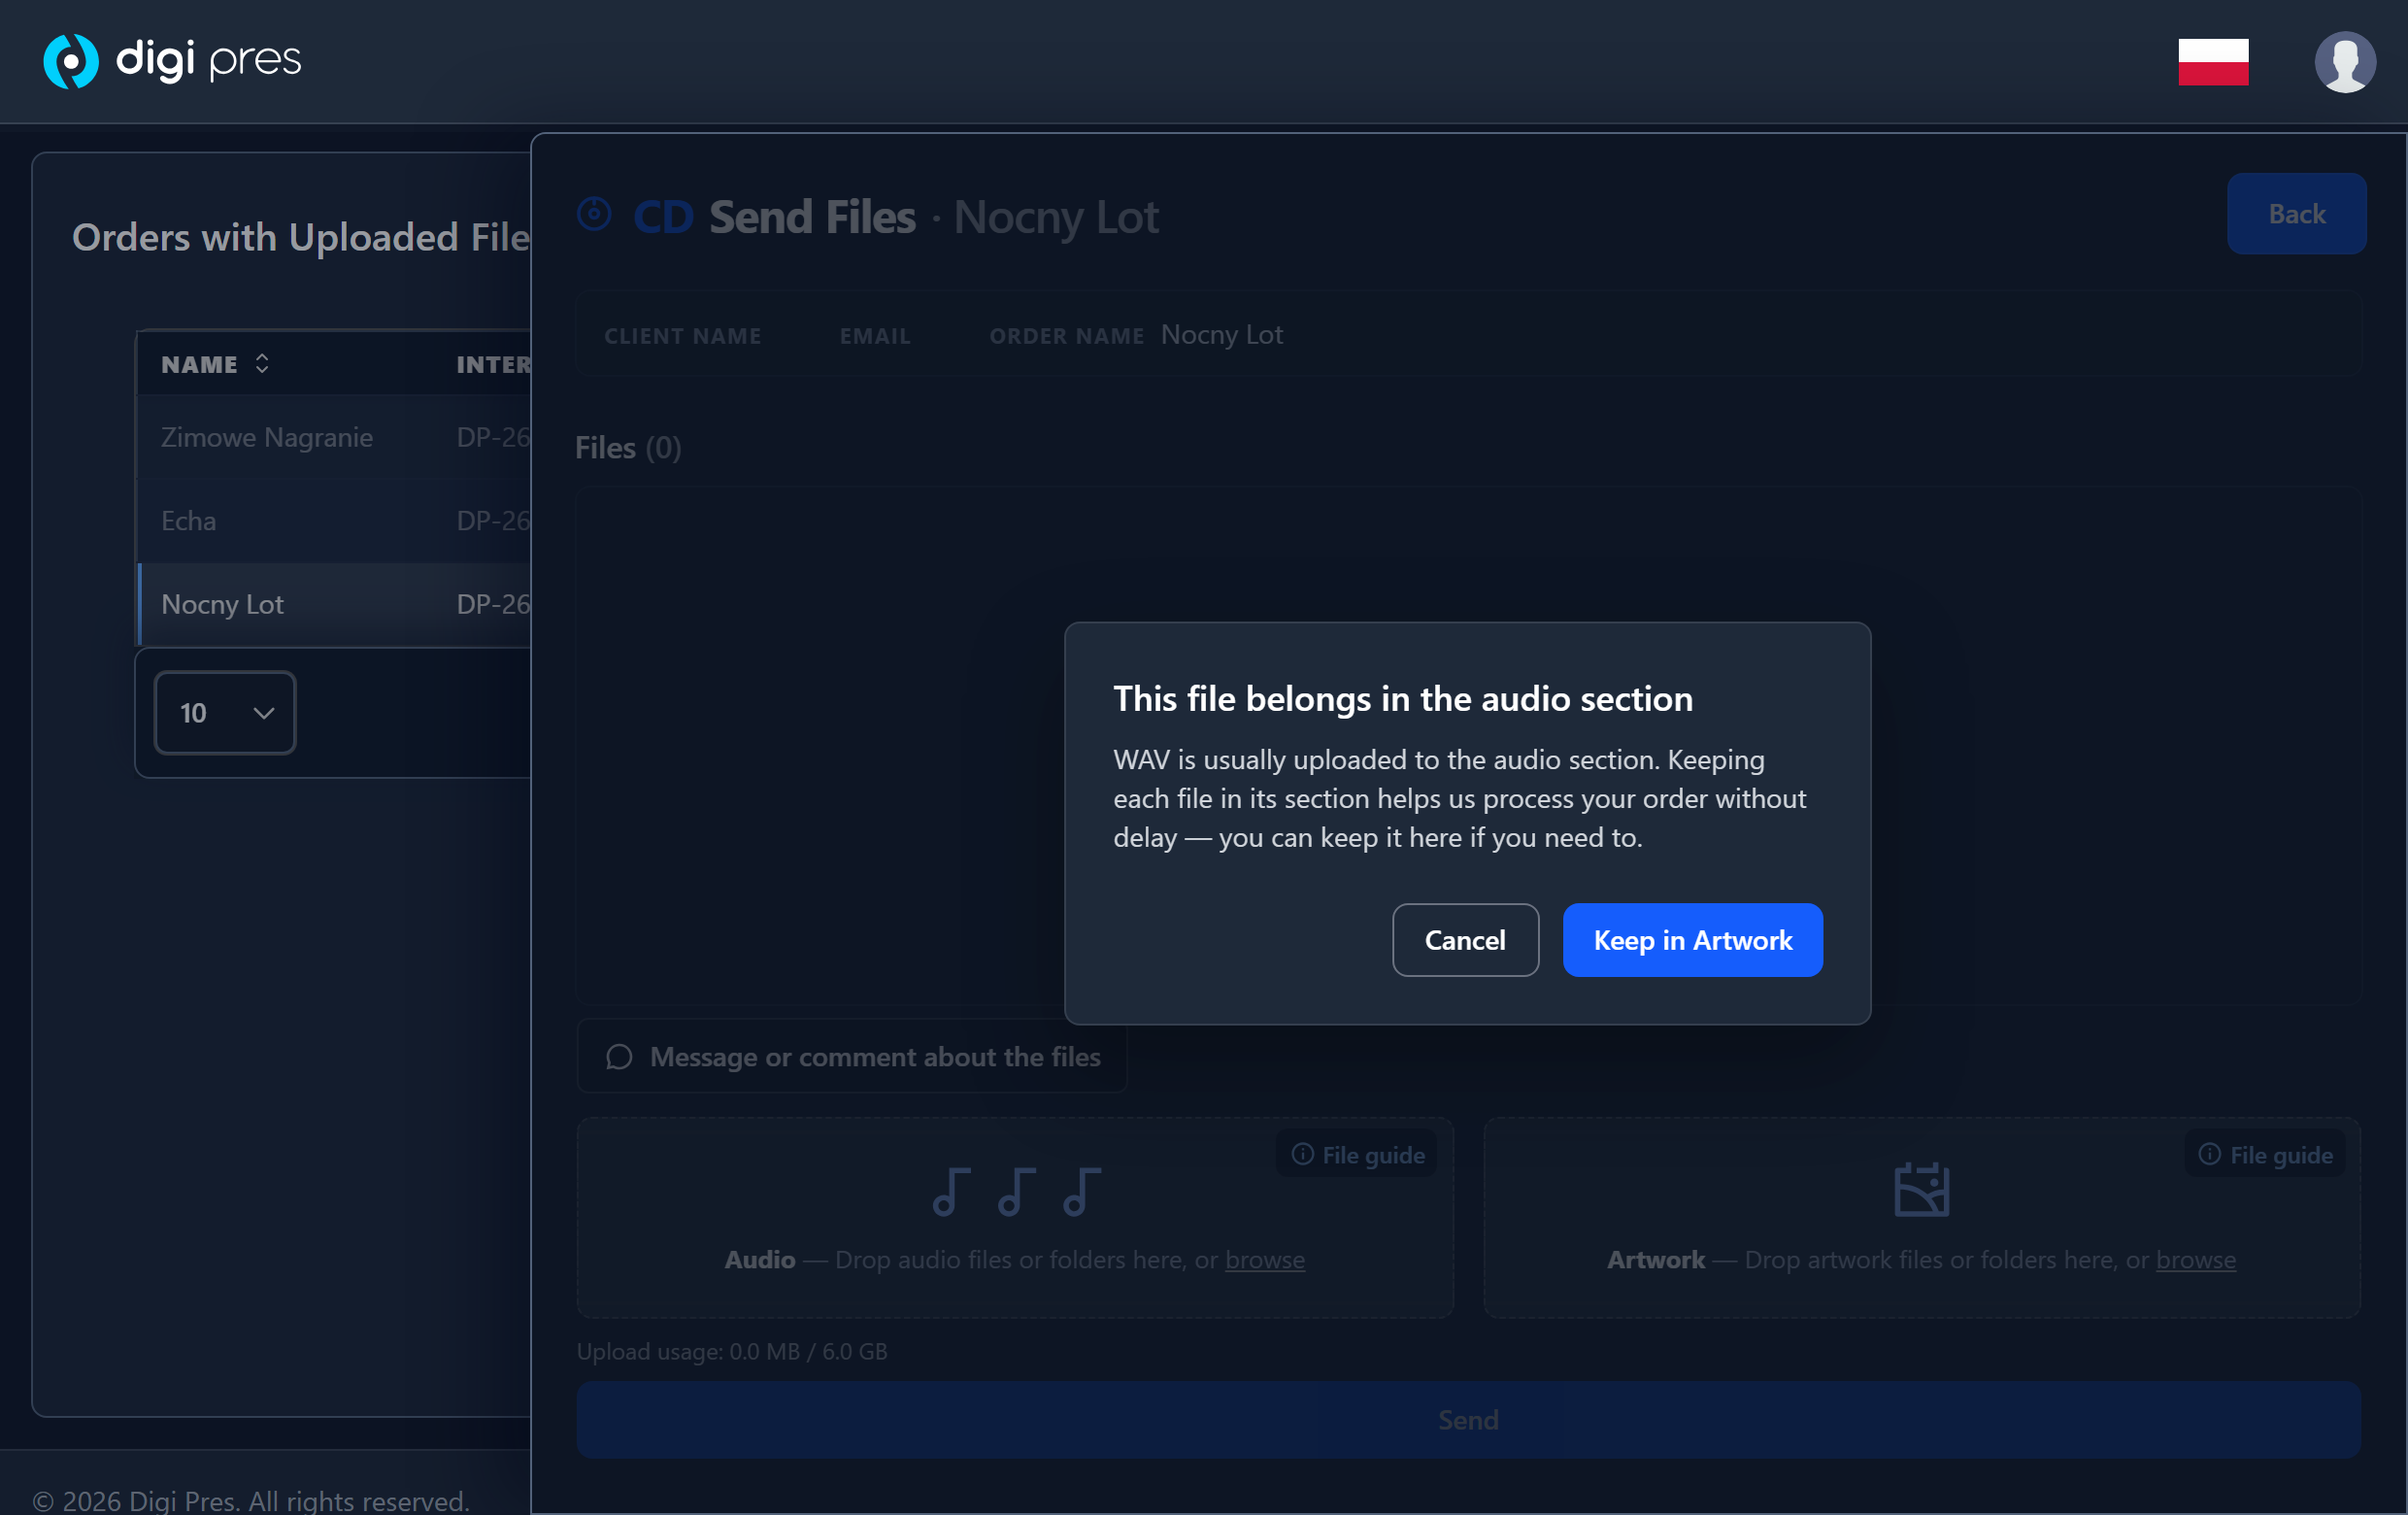
If a file is unusual for the zone you dropped it in, or is not the preferred format, you get an amber notice. A warning does not stop you — you can keep the file where it is, or move it to the other zone.
Click File guide on either zone to see exactly what to upload for your format.
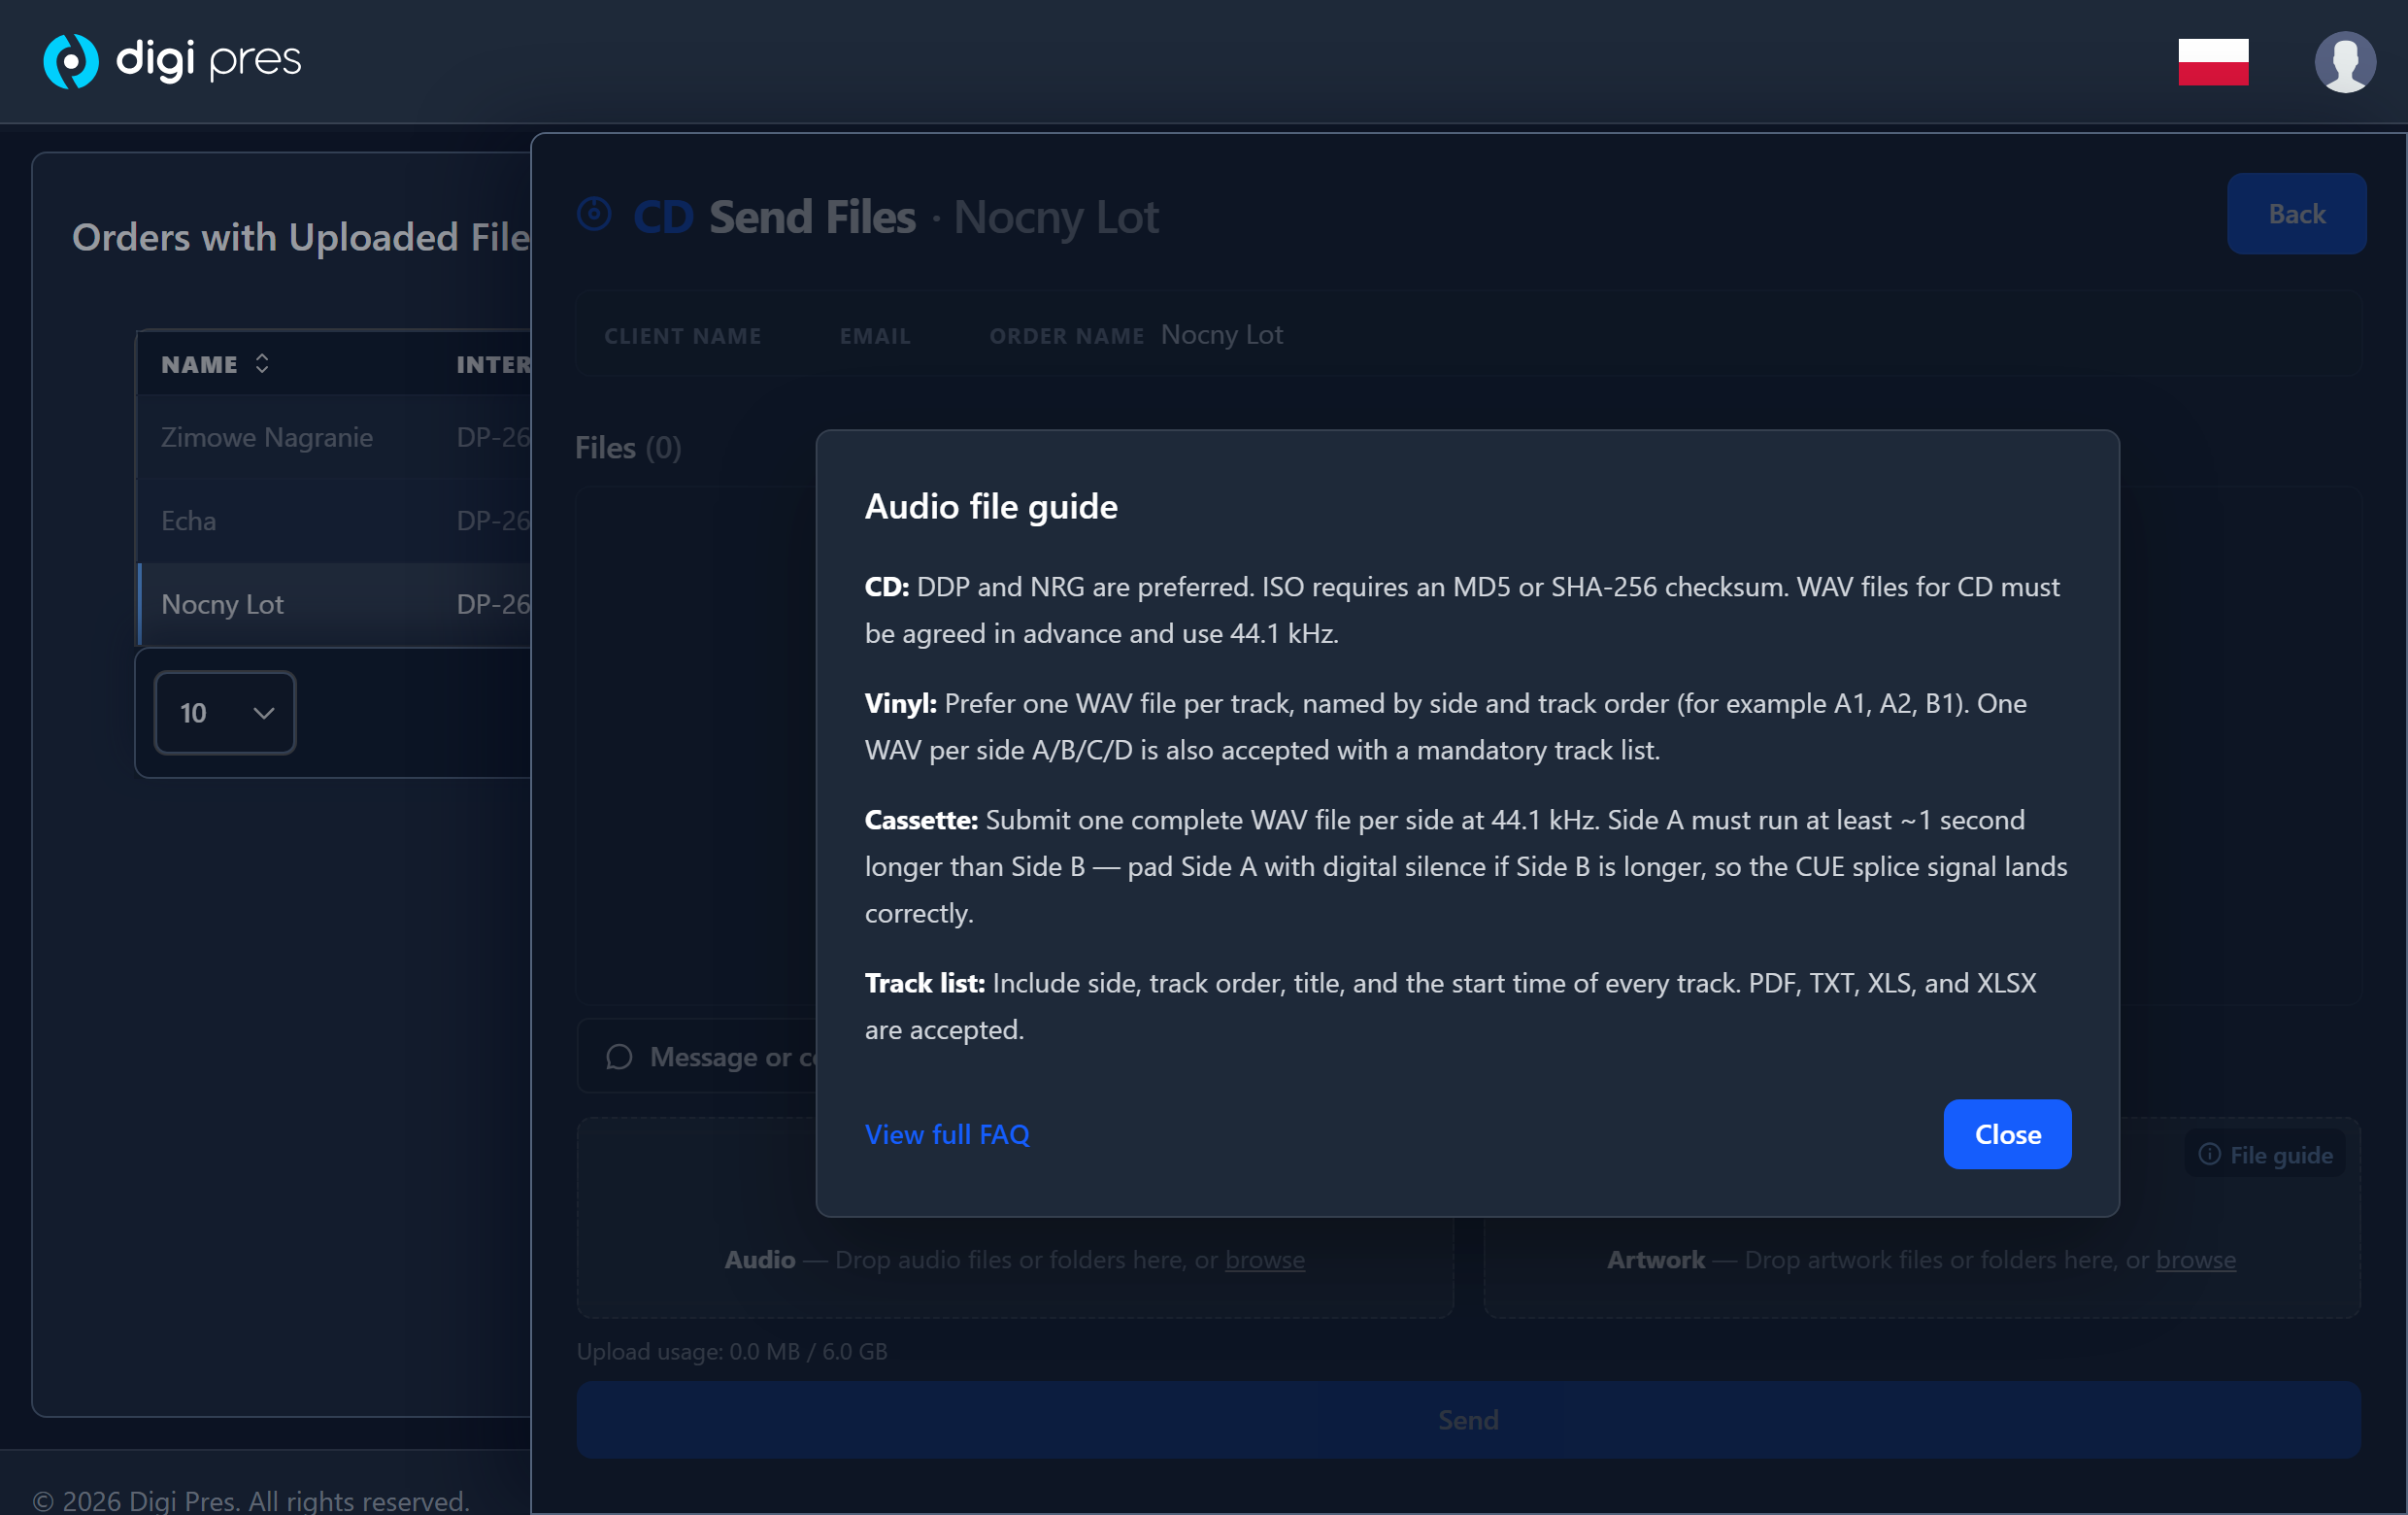
The full technical requirements are in the FAQ — the link is at the bottom of every page.
Click Message or comment about the files to leave a note for the production team — anything they should know about this upload.
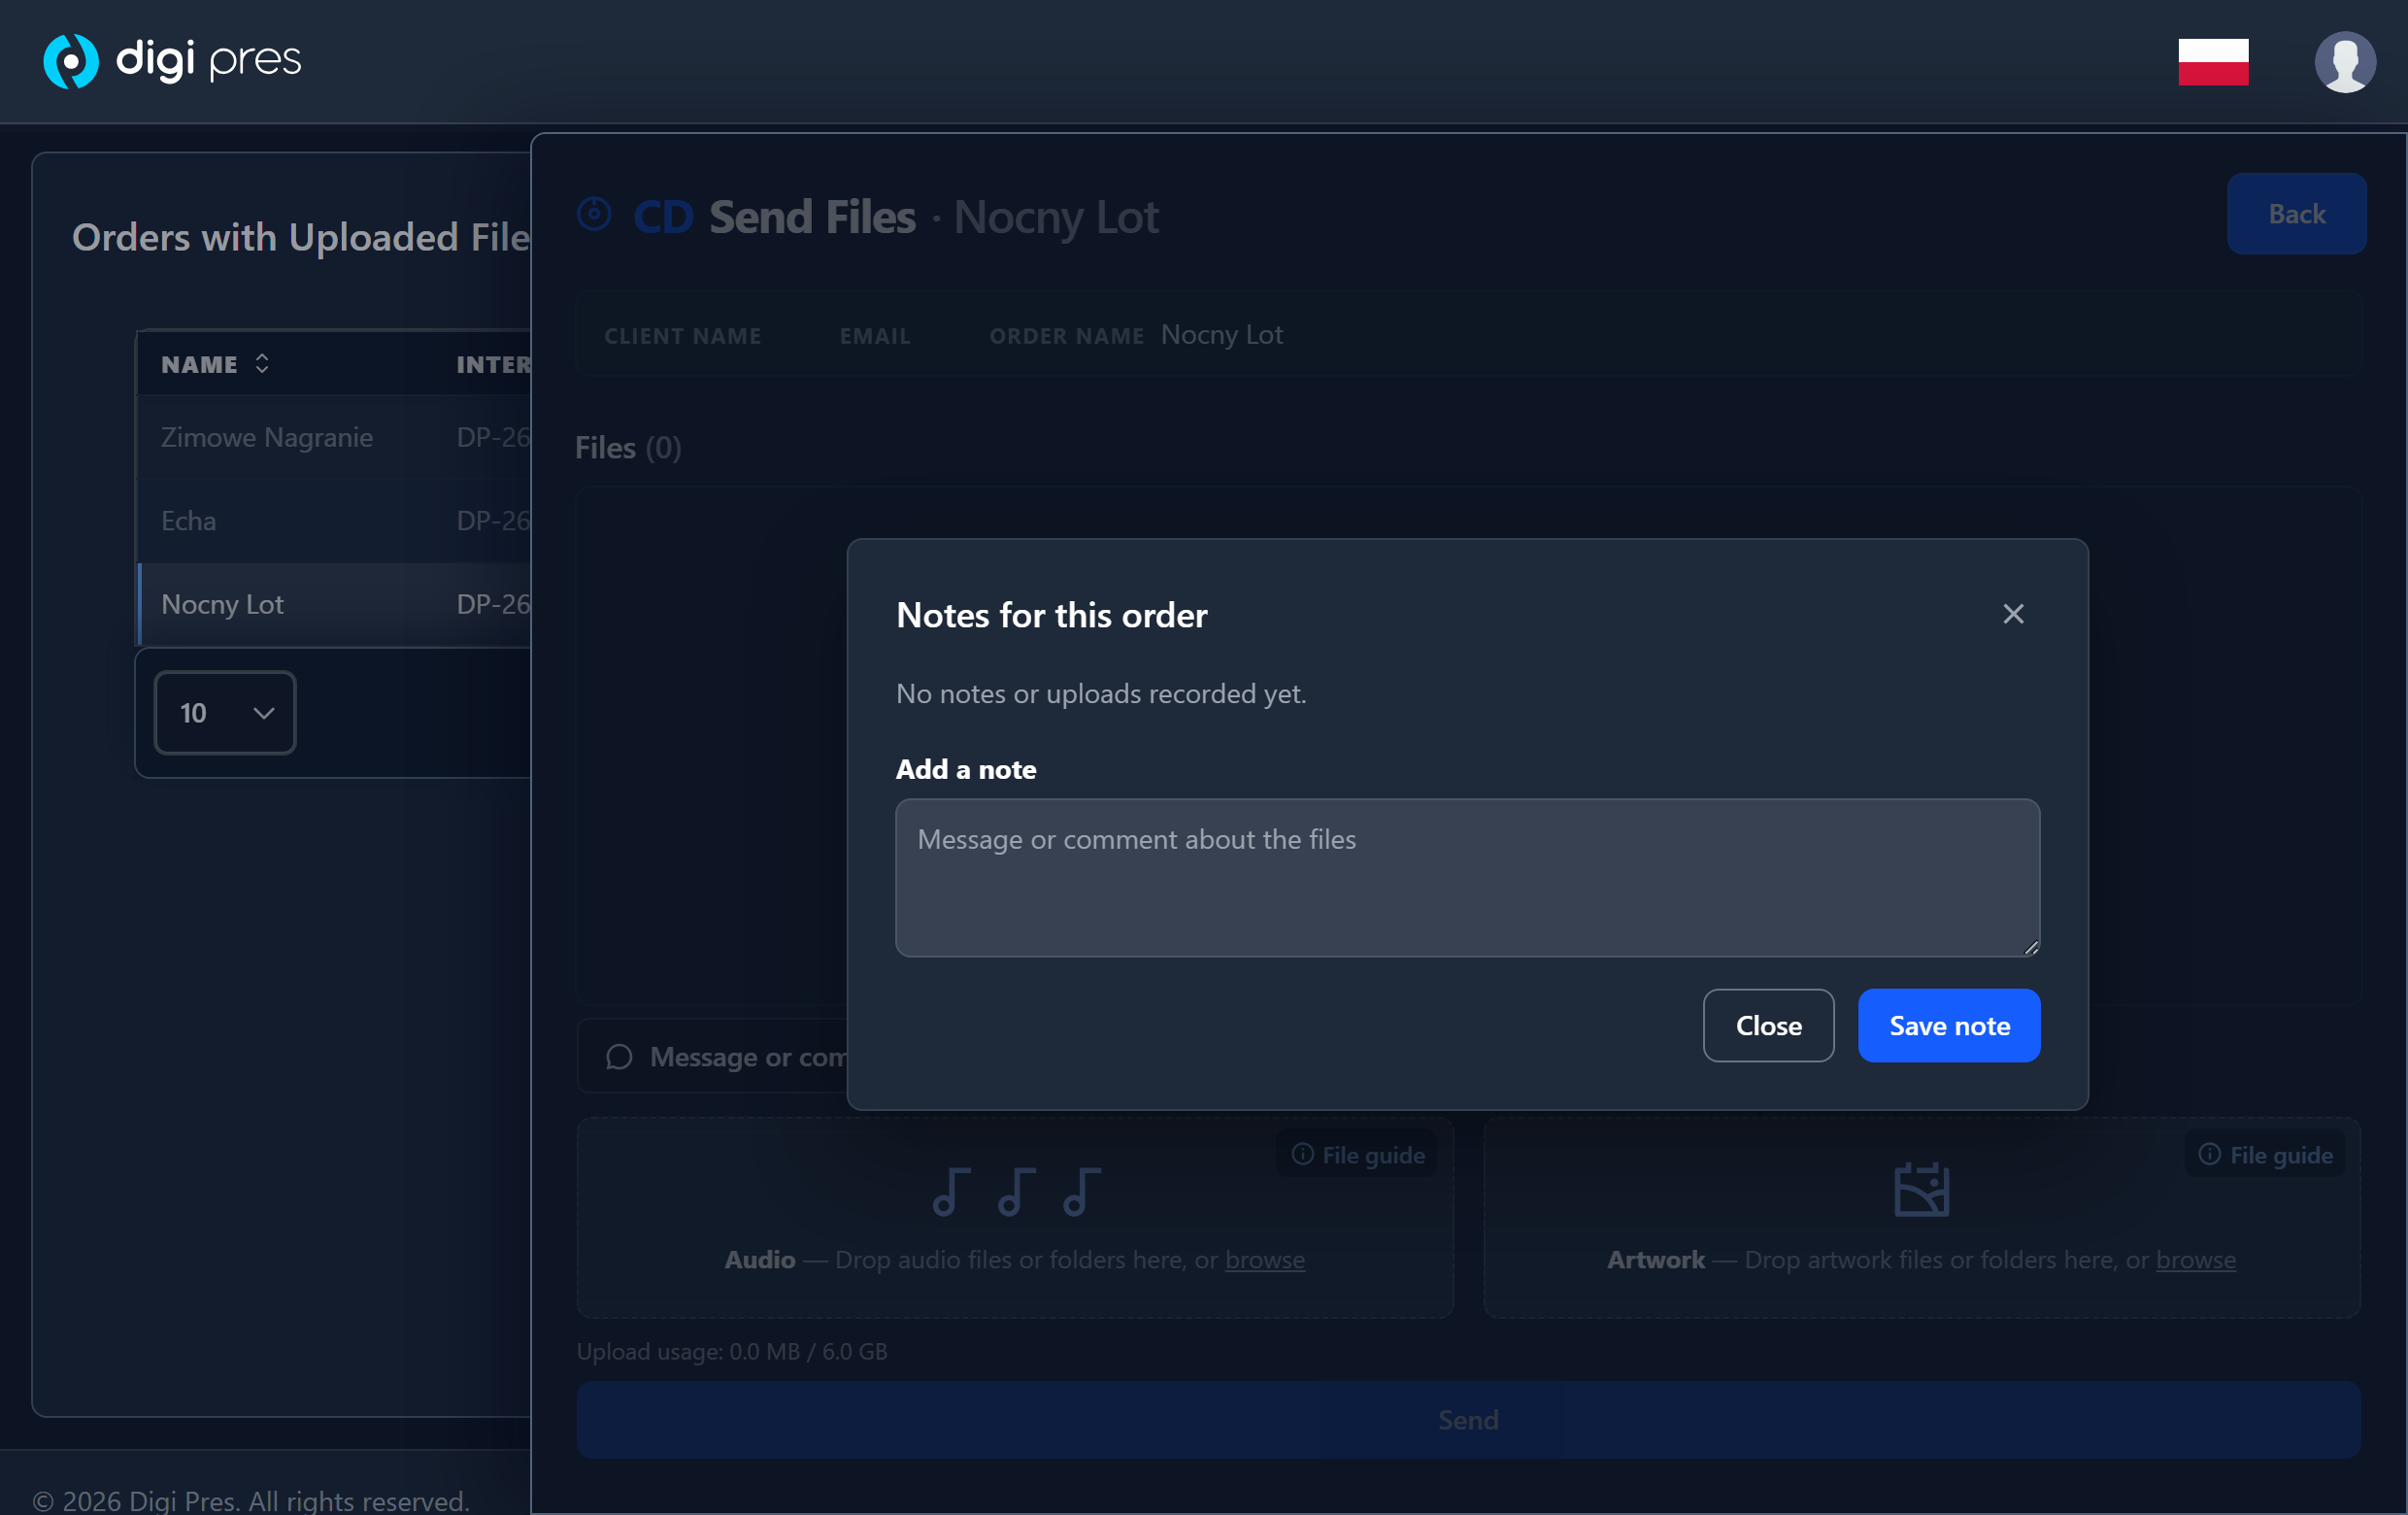
Notes stay with the order. You and our staff can both see them. The team also leaves a note here when they need to reach you about the files.
When your files are ready, click Send and confirm in the dialog.
Do not close the window while it is sending. It closes on its own when the transfer is complete.
When it finishes you get a confirmation email listing the files we received.
To send a corrected version, upload the new file — do not try to replace or delete the earlier one. New versions are tracked automatically.
Upload only files that belong to this order.
 Digi Pres